Stanley Fatmax Stud Finder 400 Manual Jun 2026
Android приложение для
пересылки входящих SMS или PUSH
на Email, Telegram или в облако


Android приложение для
пересылки входящих SMS или PUSH
на Email, Telegram или в облако
Keep the power button held down continuously. Slowly slide the tool horizontally across the wall in a straight line. Step 4: Finding the Center
Wait for the "Ready" icon to appear or for the initial beeping to stop, indicating calibration is complete.
Wipe the sensor pads on the back with a dry, lint-free cloth. Dust accumulation can degrade sensor performance. Never use water or liquid cleaners.
: Place the unit flat against the wall in a spot where you know there a stud. Press and hold the activation button. The word "CALIBRATING" will appear. Wait for the "Ready" Signal
Keep the tool stationary against the wall until it beeps and the lights indicate it is calibrated. Step 2: Scanning
If the screen flashes or gives a false reading immediately, you may have calibrated directly over a stud, metal pipe, or on a very dense piece of drywall. Move to a new spot and try again.
Wait for the device to beep and for the "Ready" icon (or reducing bars) to disappear, confirming calibration is complete.
For the most accurate results, follow this sequence every time you use the stud sensor.
Up to 2 inches (50 mm) for live electrical wires.
The Stanley FatMax 400 is a fantastic tool because it keeps it simple: Green for go, Red for stop, beep for found. The "manual" is essentially a reminder to calibrate in mid-air (away from the wall) and to move the tool slowly .
: Identifies live wires up to 2 inches (50mm) deep to keep you safe from electrical mishaps. OnePass Center-Find : Pinpoints the center of the stud, not just the edges. LCD Display
Replace the 9V battery with a brand-new, name-brand alkaline battery. If the wall is thicker than 1.5 inches, the stud may be out of the tool's maximum depth range. Maintenance and Care
: Keep the button held down. Once you hear a beep and see the
Let’s be honest: Most of us don’t read the manual until after we’ve drilled three unnecessary holes in the drywall.
A physical notch at the top of the tool paired with an LED target spotlight.
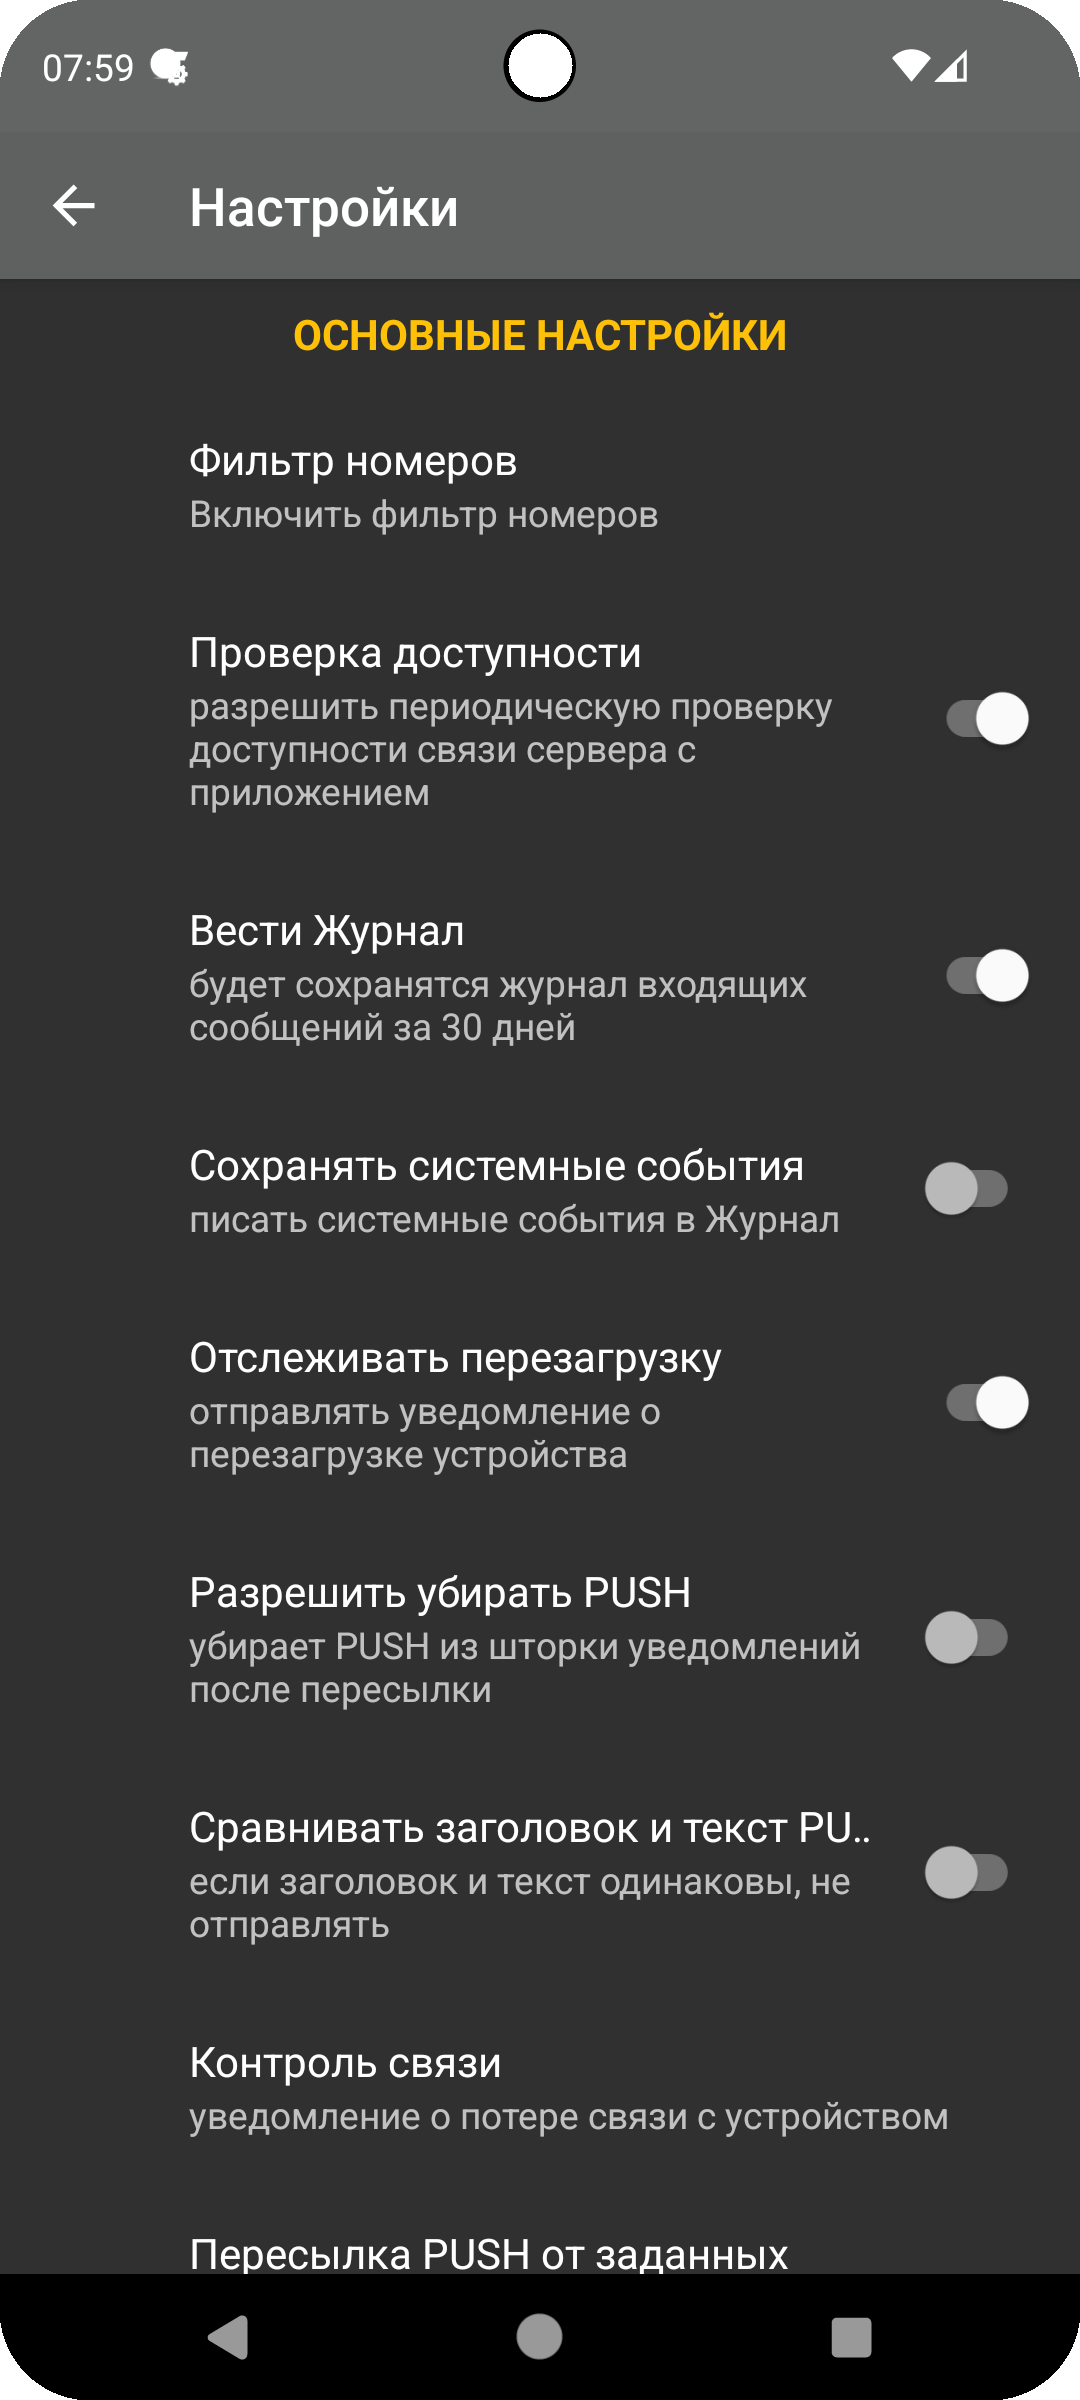
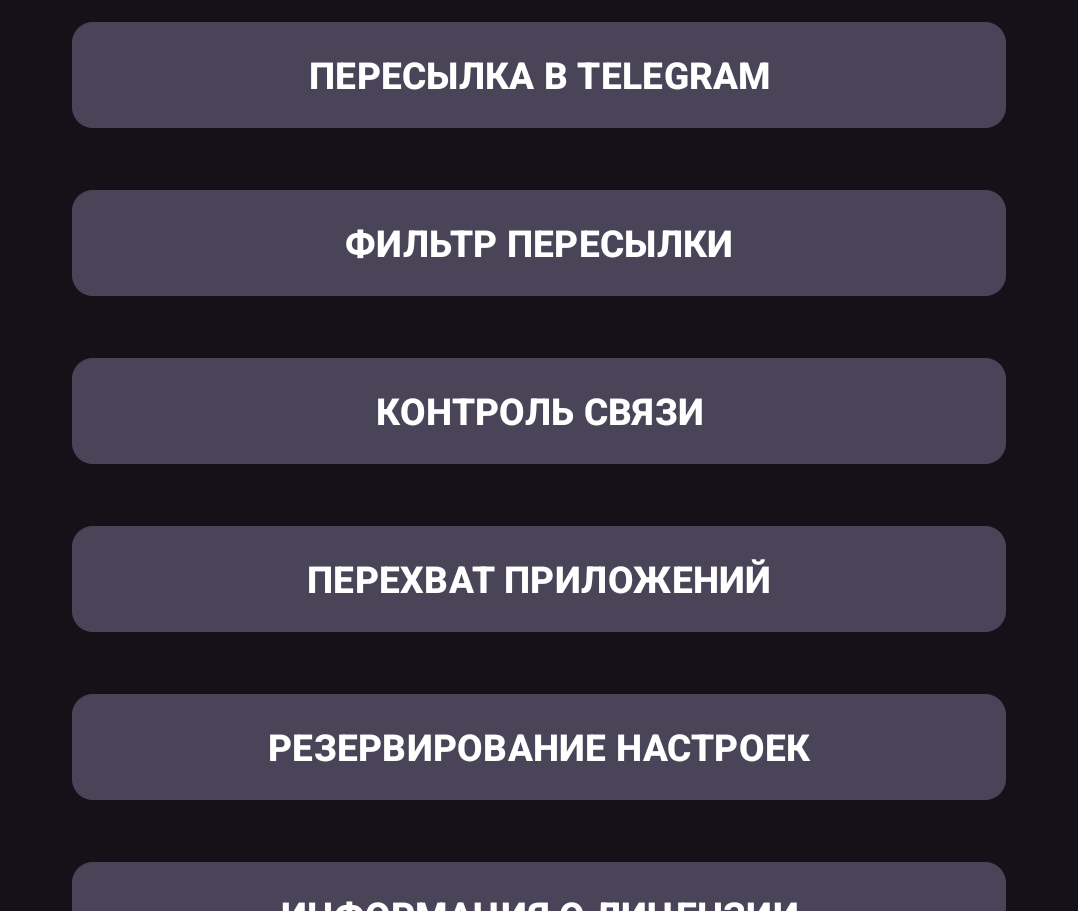
Пересылка входящих SMS (с определением слотов симкарт) или PUSH уведомлений от банков (или любых выбранных вами приложений) на электронную почту, в телеграм или в личный кабинет в нашем облаке (с ежедневными резервными копиями). Сообщения накапливаются в очередь и не потеряются при сбоях в сети или проблемах с интернетом в момент отправки. Имеется API и настройки для разработчиков (возможность настроить пересылку на свой сервер). Есть возможность объединить несколько устройств в один аккаунт и многое другое.
В приложении есть продвинутый Фильтр - можно указать с каких номеров или имен (для PUSH) можно
пересылать сообщения, с каких нельзя, можно использовать регулярные выражения или указать
триггерные слова.
Есть возможность контроля канала связи и система уведомлений в случае длительного отсутствия
устройства в сети. Так же приложение умеет отслеживать перезагрузку устройства и сообщать об
этом на почту или в мессенджер.
В приложении ведется журнал пересланных сообщений и системных событий. stanley fatmax stud finder 400 manual
Keep the power button held down continuously. Slowly slide the tool horizontally across the wall in a straight line. Step 4: Finding the Center
Wait for the "Ready" icon to appear or for the initial beeping to stop, indicating calibration is complete.
Wipe the sensor pads on the back with a dry, lint-free cloth. Dust accumulation can degrade sensor performance. Never use water or liquid cleaners.
: Place the unit flat against the wall in a spot where you know there a stud. Press and hold the activation button. The word "CALIBRATING" will appear. Wait for the "Ready" Signal
Keep the tool stationary against the wall until it beeps and the lights indicate it is calibrated. Step 2: Scanning
If the screen flashes or gives a false reading immediately, you may have calibrated directly over a stud, metal pipe, or on a very dense piece of drywall. Move to a new spot and try again.
Wait for the device to beep and for the "Ready" icon (or reducing bars) to disappear, confirming calibration is complete.
For the most accurate results, follow this sequence every time you use the stud sensor.
Up to 2 inches (50 mm) for live electrical wires.
The Stanley FatMax 400 is a fantastic tool because it keeps it simple: Green for go, Red for stop, beep for found. The "manual" is essentially a reminder to calibrate in mid-air (away from the wall) and to move the tool slowly .
: Identifies live wires up to 2 inches (50mm) deep to keep you safe from electrical mishaps. OnePass Center-Find : Pinpoints the center of the stud, not just the edges. LCD Display
Replace the 9V battery with a brand-new, name-brand alkaline battery. If the wall is thicker than 1.5 inches, the stud may be out of the tool's maximum depth range. Maintenance and Care
: Keep the button held down. Once you hear a beep and see the
Let’s be honest: Most of us don’t read the manual until after we’ve drilled three unnecessary holes in the drywall.
A physical notch at the top of the tool paired with an LED target spotlight.